|
Before you can use the RaZberry solution, you need to complete your gateway hardware and install the software.
Here are two ways to install and start Z-Way:
http://razberry.z-wave.me. It is based on the Raspberry Pi distribution “Jessie.’’
wget -q -O - https://storage.z-wave.me/RaspbianInstall | sudo bash.
You may need to configure the Wi-Fi access point of your Raspberry Pi in order to allow direct wireless access.
Let’s assume you already have shell access to your system. You can download a binary distribution from
https://razberry.z-wave.me/z-way-server.
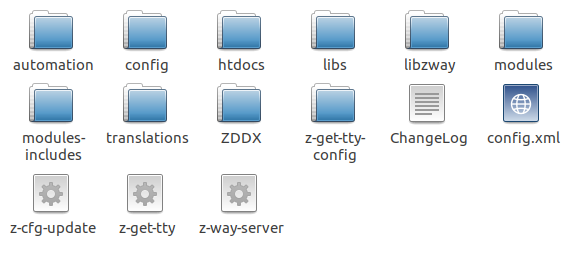
and unpack it. The code can run on every place in the filesystem. Nevertheless, we recommend using /opt/z-way-server as the folder to store the codebase. The folder content looks as shown in Figure 3.1. For more information on the files and the file structure of Z-Way, please refer to Chapter 11.4.
Z-Way can then be started using the simple shell command from inside the Z-Way folder:
LD_LIBRARY_PATH=./libs ./z-way-server
Once the code is started, it is possible to access the standard user interface using
http://localhost:8083
To use Z-Wave, the correct port of the Z-Wave transceivers virtual serial port must be configured. Please go to the user interface menu and open the app 'Z-WAY NETWORK ACCESS' as shown in Figure 3.2. for more information about Z-Way aps please refer to Chapter 6.
After checking the right virtual port created by the operating system, please configure this port name and save the settings. Now Z-Way should be up and running, and you may want to create a startup script to make sure Z-Way is running right after booting.
First, note that the Windows platform is only partly supported. There is a binary distribution for Windows, but it certainly lacks the level of testing required. Please use the binary Windows distribution at your own risk.
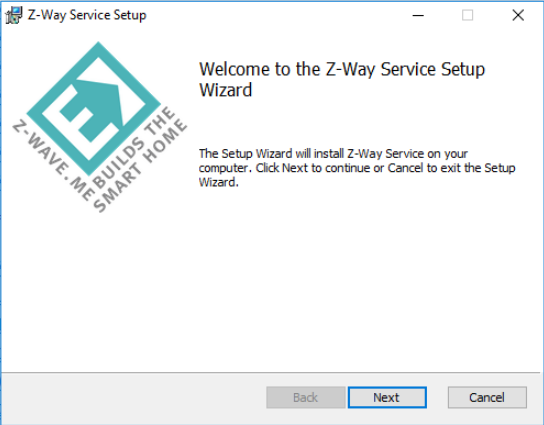
Install the MSI file and start it. You will see a nice wizard—see Figure 3.3 —guiding you through the setup process.
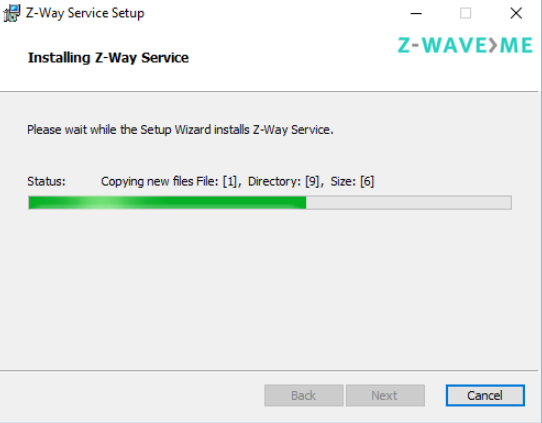
The files are installed on the folder of choice as shown in Figure 3.4.
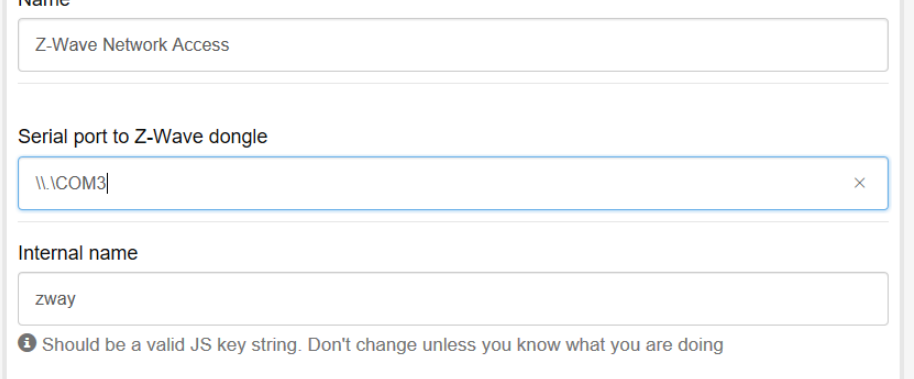
If the UZB stick is plugged into the system, there is a new COM port created for this stick. Figure 3.5 shows the Windows hardware manager with the new port. After passing the initial setup page, open the app 'Z-WAY NETWORK ACCESS' and double check the right COM port. Note that there is a very special syntax for the COM port '\\.\COM3' for serial port 3.
Figure 3.6 shows this dialog.
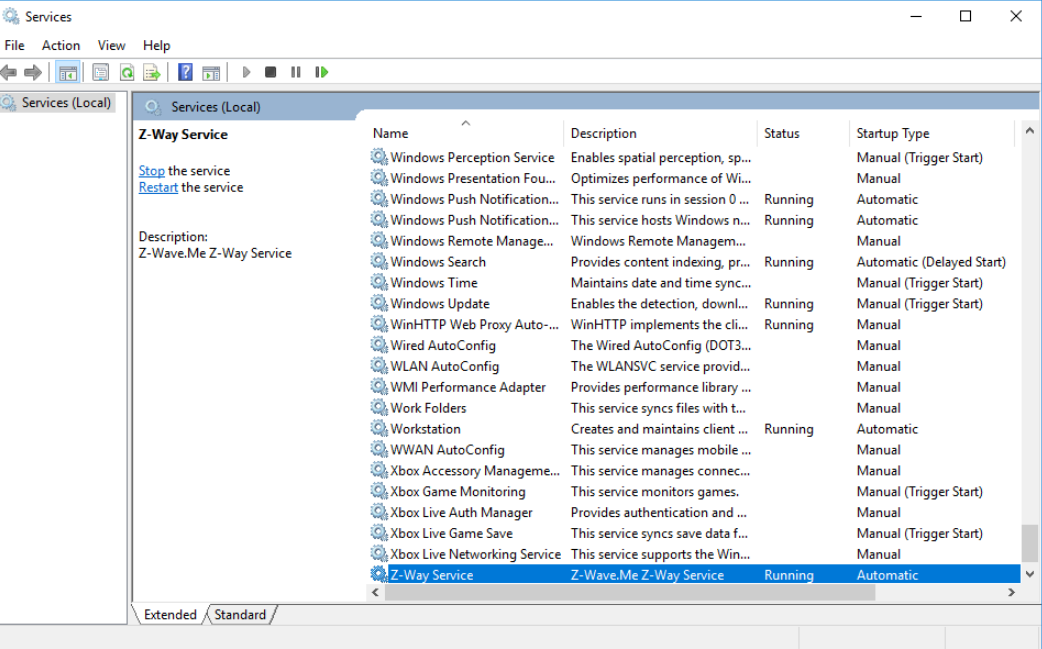
Under Windows, Z-Way runs as a service. You find the service entry in the Windows Service Management as shown in Figure 3.7. This dialog also allows starting and stopping the service.
Z-Way can be accessed in several ways:
![[*]](footnote.png) on the controller’s IP address. There is an
embedded webserver on Port 8083 providing the web pages of the user interface.
on the controller’s IP address. There is an
embedded webserver on Port 8083 providing the web pages of the user interface.
https://find.z-wave.meThe user interface is similar, but there is no need to be on the same IP network or to install an explicit port forwarding.
Both the local access and the remote access using the find-service have their pros and cons as listed in Table 3.1:
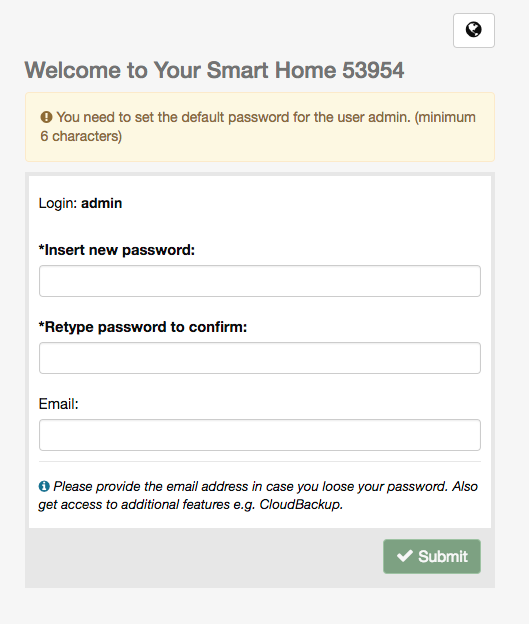
The initial access to the user interface must be done using one of the local access routes. Once Z-Way is running, the first access to the interface asks for some basic setup such as the admin password and an email address to recover this password. Figure 3.8 shows this screen. The number provided in the title (1) is the unique Z-Way Platform ID of the device and it will be needed in the future to access the controller remotely using the find service.

The  on the upper right side
allows changing the interface language from
standard English to your chosen language. If your language is not yet available, you
may want to consider contributing a translation. Please refer to Chapter 10.3
for details on how to do this.
on the upper right side
allows changing the interface language from
standard English to your chosen language. If your language is not yet available, you
may want to consider contributing a translation. Please refer to Chapter 10.3
for details on how to do this.
The language selection can be used for the user interface from this time on, but it can
be changed in  > My Settings.
Please note that the email address provided for email recovery will not be stored outside your controller, e.g. in a cloud service. This provides extra security but also means that certain processes like restore are a bit more complicated than is usual.
After completing the setup, a welcome screen will guide you through the system and introduce the basic user interface terms/dialogs.
It also offers buttons for direct access to the two most common actions right after installation:
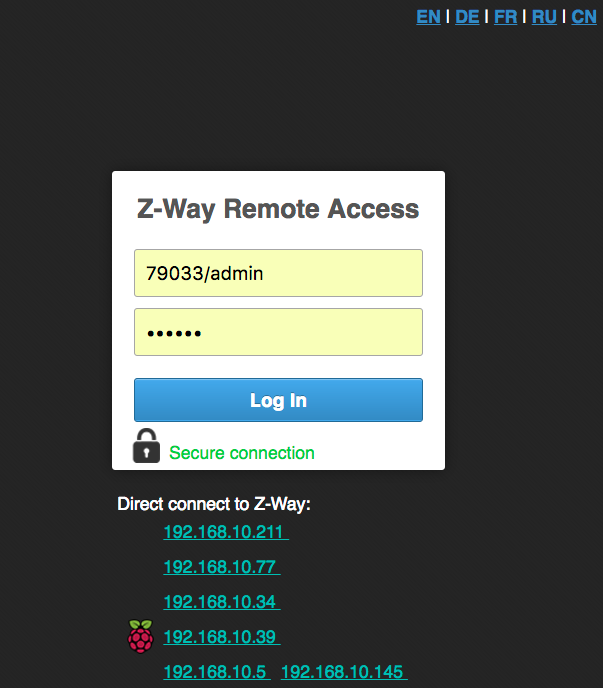
After completing the setup, it is possible to access Z-Way using the find service, or install a native app for the mobile phone. Open the url
https://find.z-wave.me/
The dialog on this find service, as shown in Figure 3.10, is intentionally simple. It offers two ways to log in:
The menu option Logout in the setup menu of the user interface will terminate the session and return you to the login screen or the find service depending on how to log in. You can always force the termination of the find session by calling the URL
https://find.z-wave.me/zboxweb.
Security and privacy are of great importance. Z-Way tries to maximize security and privacy and will not compromise them in order to improve user experience and convenience.