|
IP cameras transmit a video stream that can usually be accessed having dedicated mobile apps. Under certain circumstances it is possible to have the very same video stream in parallel within the Z-WAY SMART HOME INTERFACE . All Z-Way user interfaces (Web Browser and native apps for IOS and Android) are based on off-the-shelf HTML rendering engines supporting standard video and image formats. To display the video stream of a certain camera this stream must comply to commonly used public standards, such as MJPEG.
Certain cameras however use proprietary video encoding that can only be decoded by special native mobile apps of the manufacturers. These cameras can’t be supported by Z-Way.
To integrate a camera into Z-Way, this camera needs to be setup first following the guidelines given in the manufacturers manual. As a result, there must be
Most IP networks in private homes and offices assign IP devices a new IP address using the DHCP protocol. The router holds a list of IP addresses and will arbitrarily choose one address from the list to the new IP device. Even after a reboot this address will remain the same. If the setup process mentioned above does not reveal the IP address there are two common ways:
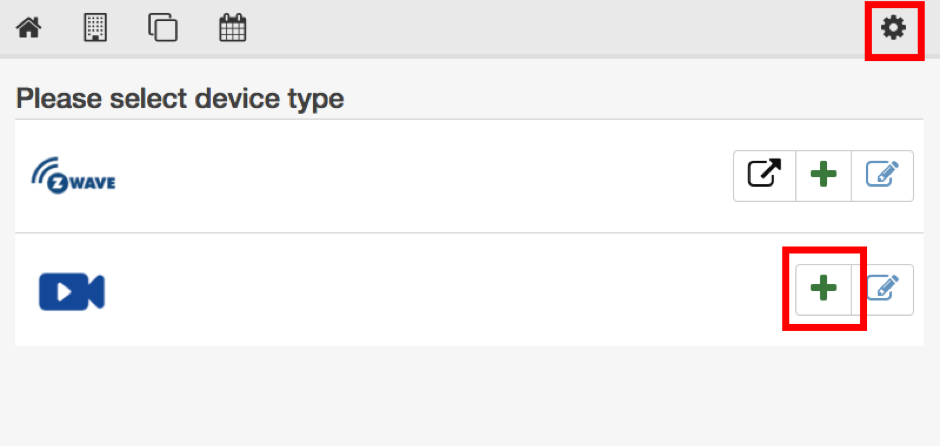
The Z-WAY SMART HOME INTERFACE allows adding new devices. Log into the user interface of Z-Way, click on the setup menu (icon on the upper right side) and click on menu item Add New Device. You see the dialog as shown in Figure 9.1. Now choose the IP camera symbol line and click +.
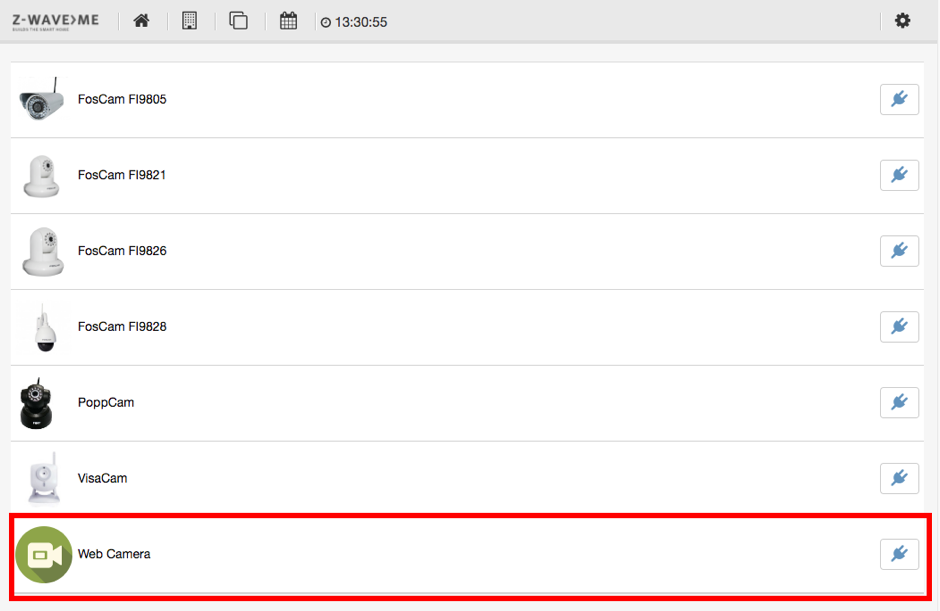
Now you will find a list of IP camera types plus one generic IP camera option called 'WEB CAMERA'. This dialog is shown in Figure 9.2.
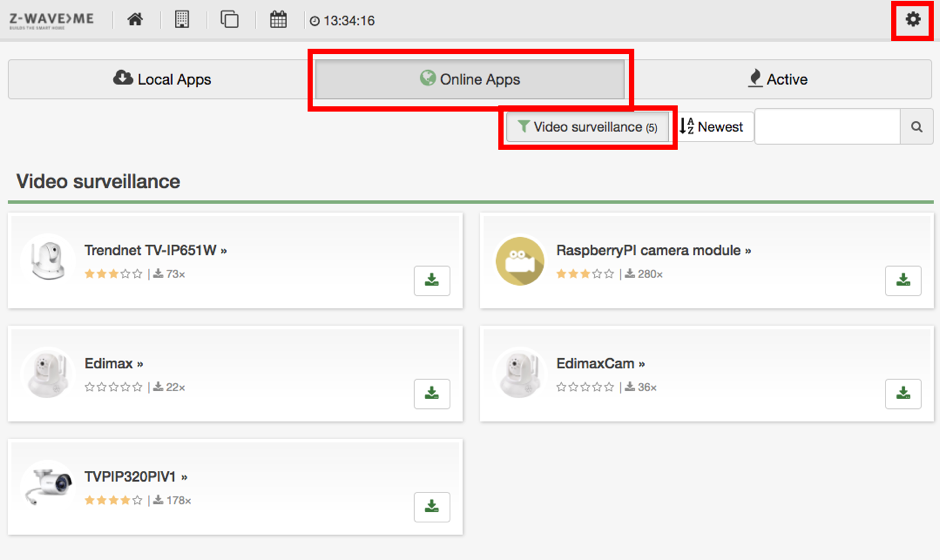
If you are lucky, the name of your camera is already on the list. If not, you can check in the app store if there is a new support app available for your camera type. Go to Setup > App > Online Apps and filter for 'VIDEO SURVEILLANCE.' Figure 9.3 shows the app store with camera filter.
If you find your camera type, just install the app and redo the steps above. Now you will find the new camera in the list to choose from.
Once you click on the camera of your choice there will be a setup wizard asking you as a minimum for the IP address of your camera, the login name, and the password. Therefore, you need this set of data from the setup process of your device.
If your camera type is neither on the list of preset cameras nor there is a new app in the online app store there is still a very good chance to get your camera integrated. However now there is more work needed to find the right commands controlling your camera. In this case, you will need to choose the generic camera type “Web camera,’’ which requires the same set of information (IP address, login, password) but more than that.
Note: This work requires some basic understanding of web pages, IP, and URLs. The generic web camera allows defining the URL to the video stream and—if the camera has these capabilities—links to tilt, turn, night vision control, etc.
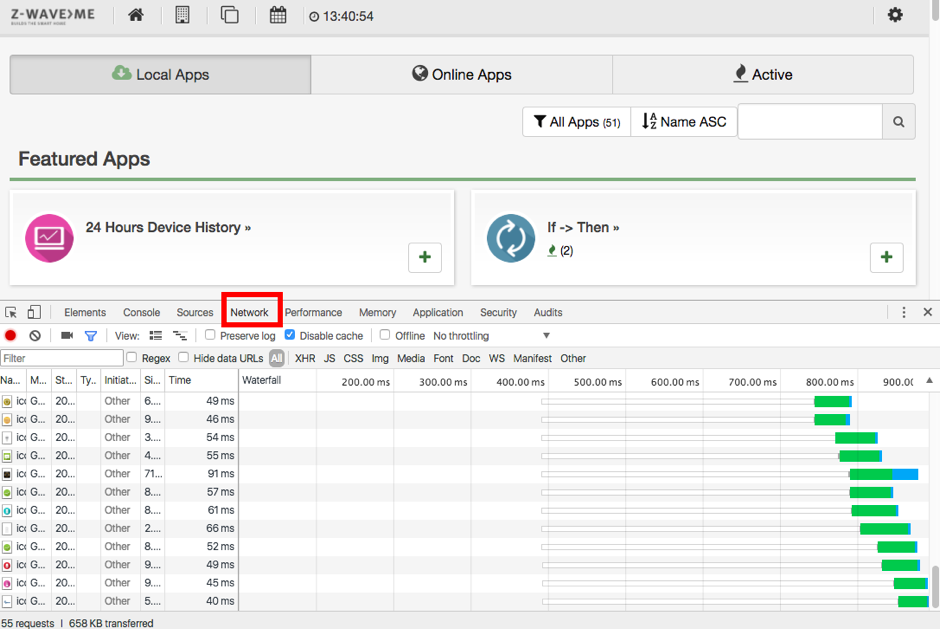
To find these URLs, you need to log into your camera using a generic web browser. We strongly recommend using Google Chrome because of the debugging capabilities. The following explanation assumes the Chrome browser, but other browser will have similar functions.
EnOcean is another wireless communication technology optimized for very low power consumption.
Z-Way has implemented support for EnOcean devices but limits its function to sensors and wall switches because of their battery-free and therefore maintenance-free design. Compared to Z-Wave, EnOcean is a quite simple protocol. There is no such thing like network inclusion or routing—every EnOcean device just sends out a specific datagram that includes a unique device id and the data (sensor values, switch status) of the specific function of the device. The encoding of these data is defined in so-called profiles. These profiles are identified by a three-byte value but they are not transmitted wirelessly. Hence the user must decide from his product knowledge what profile a certain device is using. The EnOcean receiver will use this information to decode the datagram and use the data. (This means that a wrong decision about the profile of a EnOcean device will lead to severe malfunctions of the system).
Every EnOcean receiver in proximity will always receive every datagram sent by a transmitter. This leads to two basic management functions of the EnOcean module:
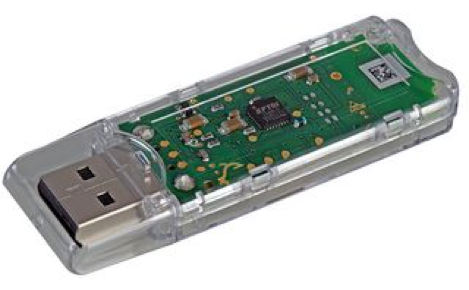
To work with EnOcean devices, an EnOcean USB Stick is required. Please use the Popp
EnOcean Stick (POPE12204) as shown in Figure 9.5 and plug it into the USB
port![[*]](footnote.png) .
.
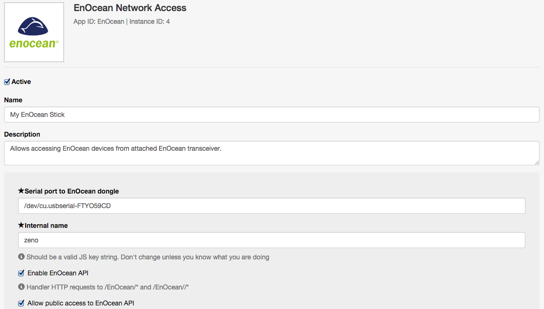
Next, the EnOcean app must be installed from the app store and configured as shown in Figure 9.6.
Make sure to pick the right device name of the EnOcean USB Stick connected to your hardware. For Raspberry Pi-based platforms this is always /dev/USB0 but for other platforms this may be different. The internal name, “zeno,’’ can be arbitrarily chosen. In case more than one EnOcean stick is operated this name needs to be unique.
Now it is possible to “teach-in’’ new products using the user interfaces “Device’’ section Configuration > Device > EnOcean.
As described above the first step is to select the right product. A list of manufacturers with their products are given to select from. Please note that the EnOcean module may support many more devices from other manufacturers as long as they have the same profile. A good example for this is a door window sensor (profile name D5-00-01). Multiple manufacturers off door-window sensors, some even in the same enclosure but some in slightly changed enclosure. Their EnOcean wireless capability is however similar.
You may find the profile name on the label of the unknown device or documented in the device specification of the manufacturer.
Please not that without proper knowledge of the device and its profile it is impossible to operate the device!
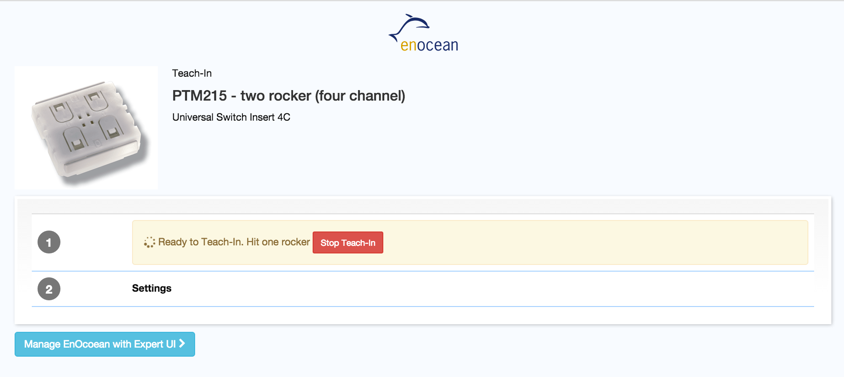
After selecting the right device, the user interface asks for the teach-in process as shown in Figure 9.7. During this process, the new device must send out one datagram containing the unique ID. The user interface will give some hints how to generate such a datagram.
Once this datagram was received, the EnOcean module will generate virtual devices according to the profile selected. You can change the names of the elements to be generated. Figure 9.8 shows this dialog.
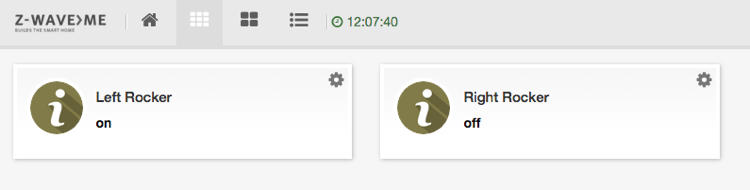
Finally, as shown in Figure 9.9 one or multiple elements will appear in the elements view. One example of the wall controller device shows Figure 9.10.
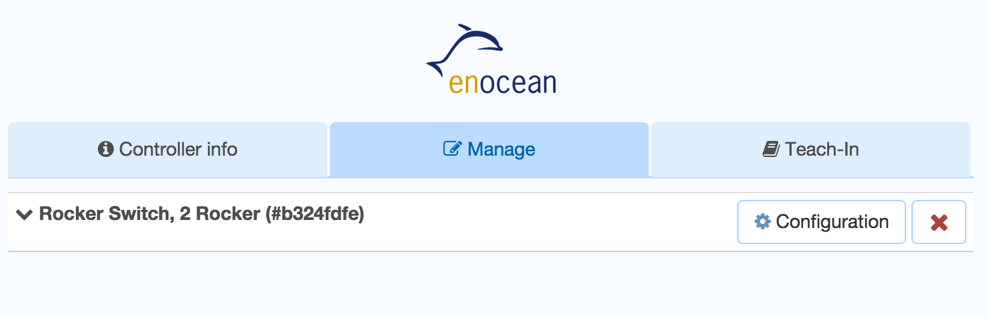
The menu option Devices also offers a special interface to manage EnOcean devices as shown in Figure 9.10. This dialog offers a list of all known EnOcean devices with an option to change the profile. Furthermore, it is possible to manually select one of the valid profiles of EnOcean for a device not known to the standard user interface. Please note that profiles not known to the standard UI are also not supported by the standard user interface and will not leads to creating new UI elements. However, the device is still created in the API and can be used by third-party software.
For a list of all supported EnOcean devices, please refer to Annex ![[*]](crossref.png) .
Experienced Users and programmers may extend this list by adding their own profiles to Z-Way.
Chapter 13.6 describes how to do this.
.
Experienced Users and programmers may extend this list by adding their own profiles to Z-Way.
Chapter 13.6 describes how to do this.
Z-Way can work with external IP-based systems. Please refer to the app store description
for more information about how to integrate third-party IP-based devices. Please refer
to Chapter 6 for details.